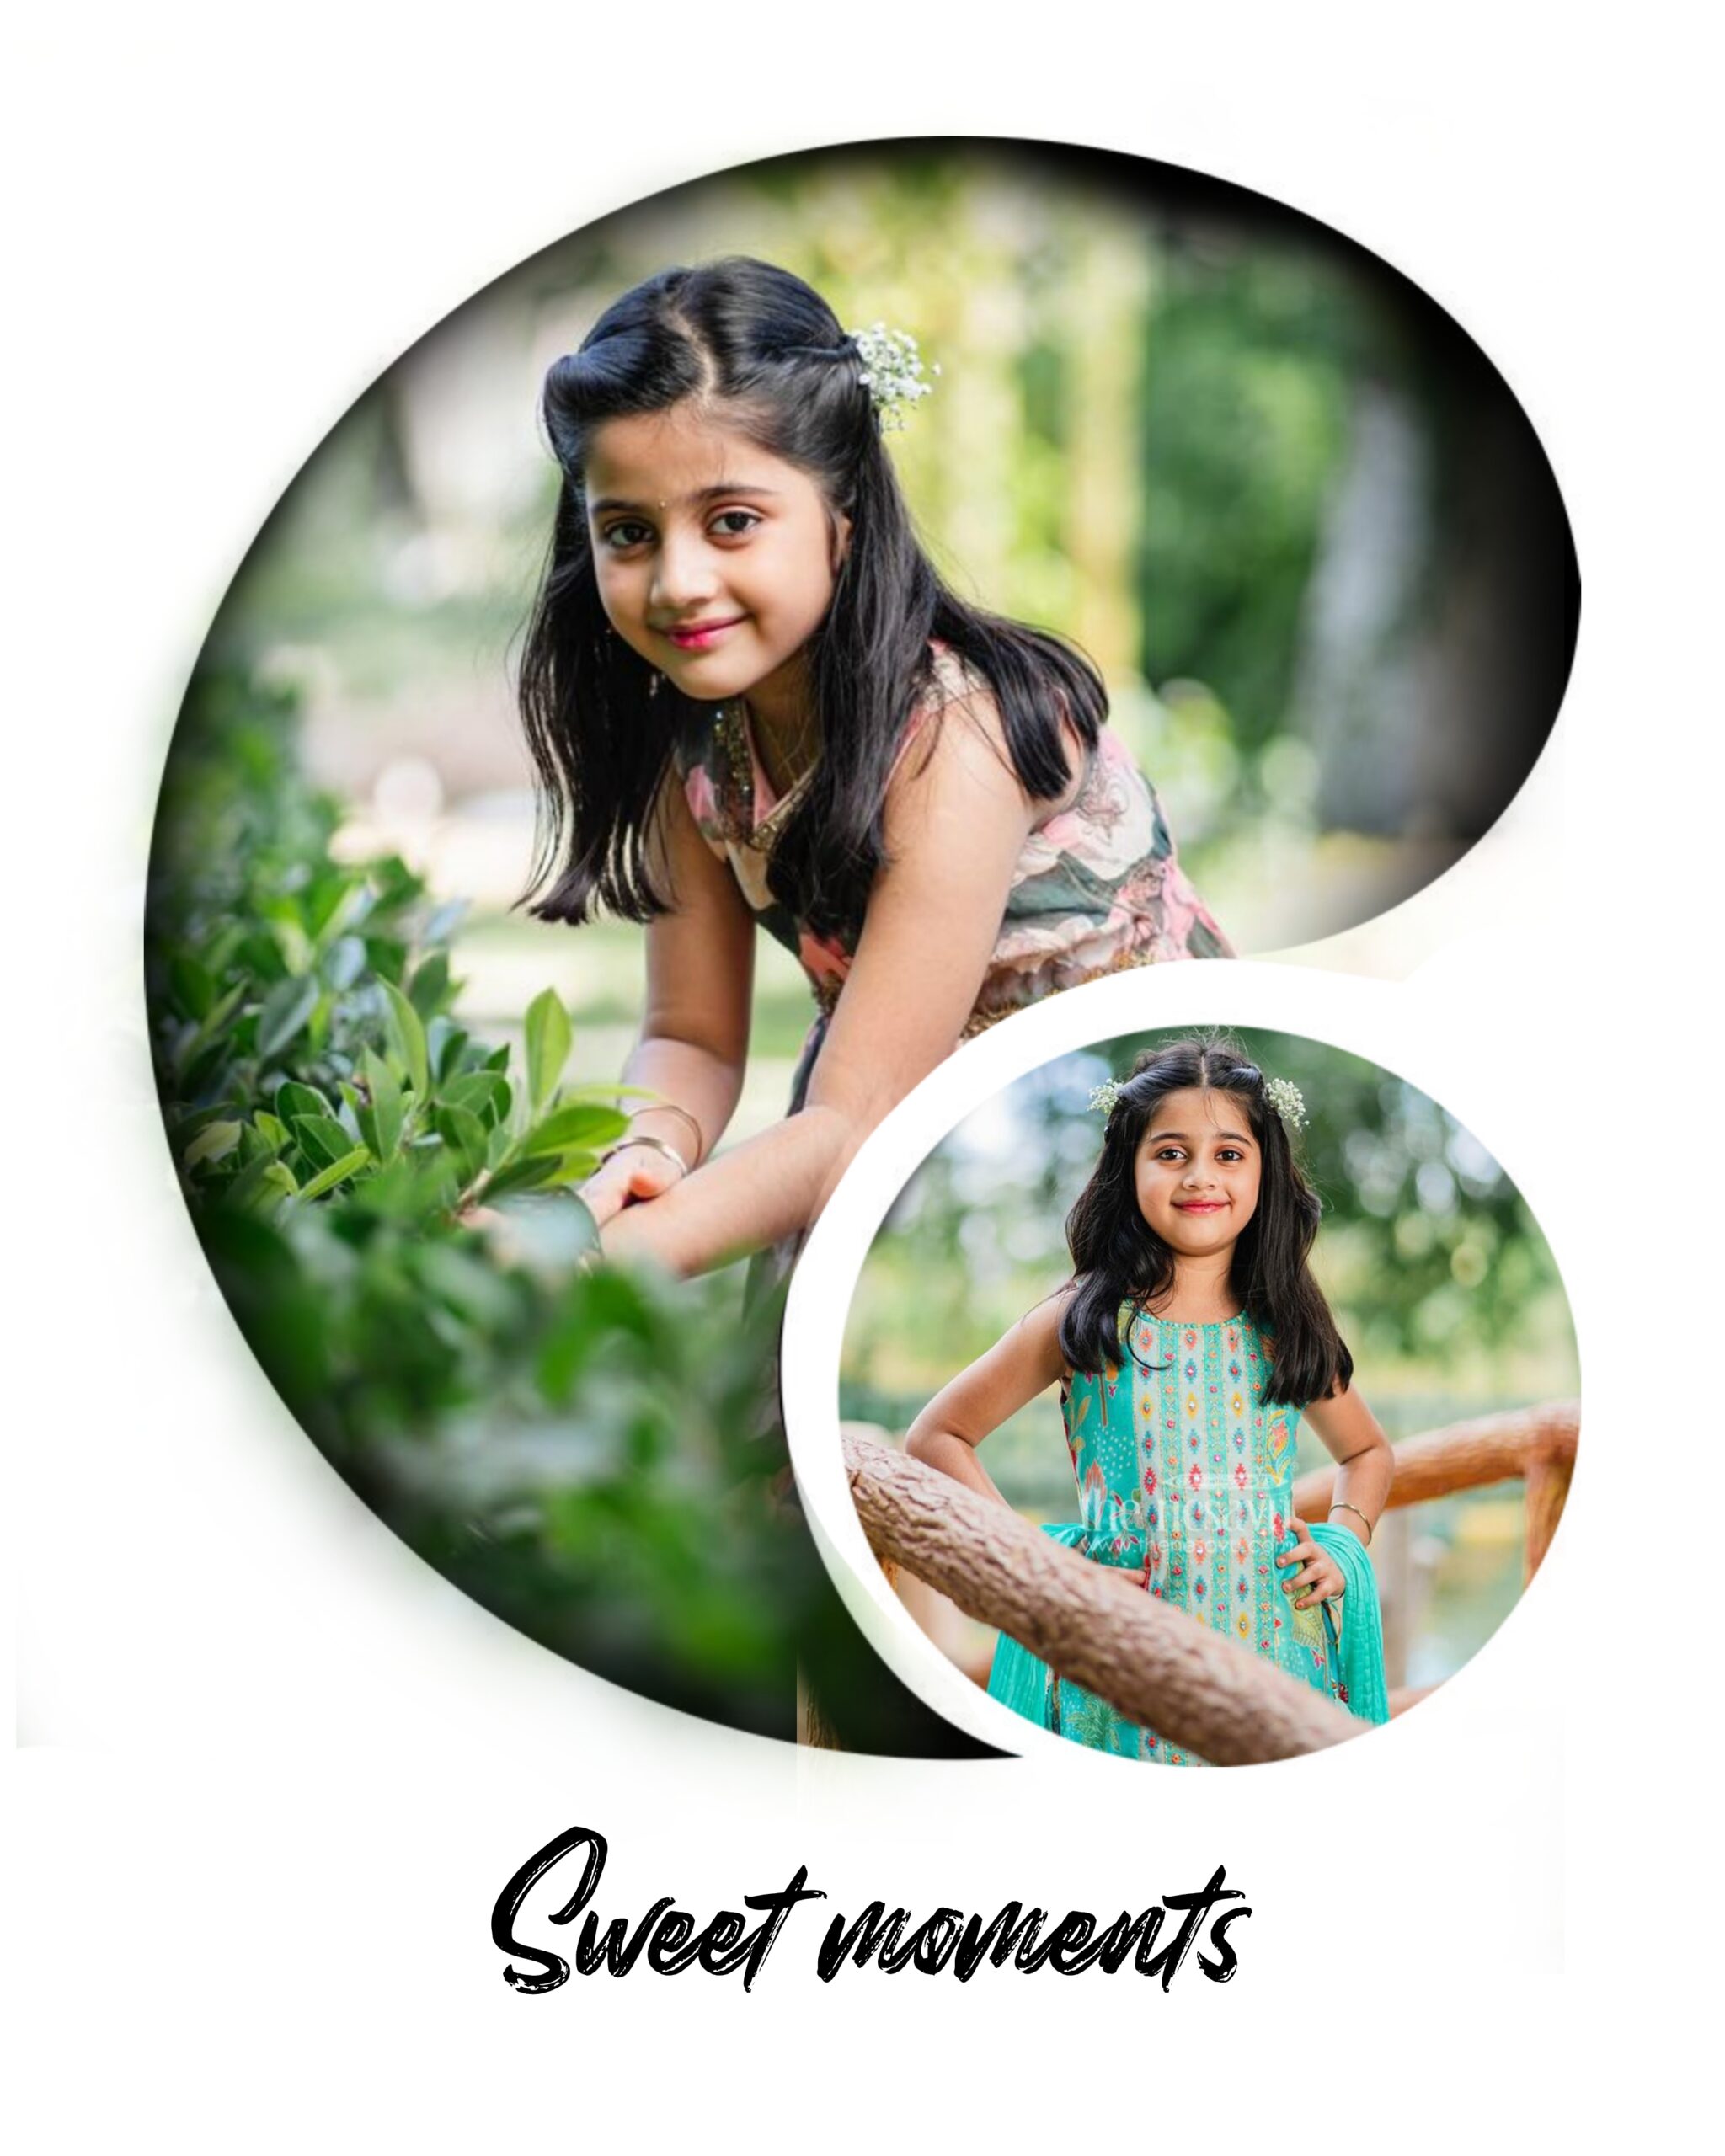
Here’s a ready-to-use blog content draft about double exposure photo editing in Picsart:
Double Exposure Photo Editing in Picsart: A Step-by-Step Guide
Double exposure photography has become a popular creative trend in recent years. It combines two images into one, creating a dreamy, surreal, or artistic effect that grabs attention instantly. While professional photographers once relied on high-end cameras to achieve this style, apps like Picsart have made it possible for anyone to create double exposure edits right from their phone.
In this blog, we’ll guide you through the process of creating a double exposure photo using Picsart, along with some pro tips to make your edits stand out.
What is Double Exposure Editing?
Double exposure is a technique where two images are layered over each other, blending into one. For example, you can merge a portrait with a city skyline, a silhouette with a forest, or a person with abstract textures. This effect often conveys emotion, mystery, or storytelling in a single frame.
How to Create a Double Exposure Photo in Picsart
Step 1: Open Your Base Photo
Launch the Picsart app and tap the “+” button.
Select a base photo — usually, a portrait or silhouette works best.
Step 2: Add Your Second Image
Tap Add Photo and choose the second image (like a landscape, sky, or texture).
Adjust its size and position so that it blends naturally with your subject.
Step 3: Apply Blending Modes
Tap on the second image layer and look for the Blend option.
Experiment with blending modes like Overlay, Screen, or Multiply to get the desired effect.
Step 4: Use Eraser Tool for Precision
Select the Eraser tool to remove unwanted parts of the second image.
Carefully erase around the subject to create a clean, professional look.
Step 5: Adjust Colors and Brightness
Go to Tools → Adjust and fine-tune brightness, contrast, and saturation.
You can also use filters for a cinematic or moody vibe.
Step 6: Save and Share
Once satisfied, tap Export to save your double exposure photo.
Share it on Instagram, Facebook, or your portfolio to showcase your creativity.
Pro Tips for Stunning Double Exposure Photos
Choose High-Contrast Images – A dark portrait with a bright background image blends beautifully.
Use Silhouettes – They provide a clean canvas for creative overlays.
Experiment with Nature and Cityscapes – Forests, skies, and skylines often create the most dramatic results.
Play with Opacity – Lower the opacity of the second image for a softer blend.
Keep it Balanced – Don’t overload your edit; simplicity often looks more professional.
Final Thoughts
With just a few steps in Picsart, you can transform ordinary photos into stunning pieces of art using the double exposure technique. Whether you’re a beginner experimenting for fun or a digital artist building a portfolio, this effect adds depth and creativity to your edits.
So open Picsart, try these steps, and let your imagination flow!
👉 Do you want me to also add SEO keywords and a catchy meta description so your blog can rank better on Google?
Bg download
