- Open your Image: Open PicsArt and select the image you want to edit.
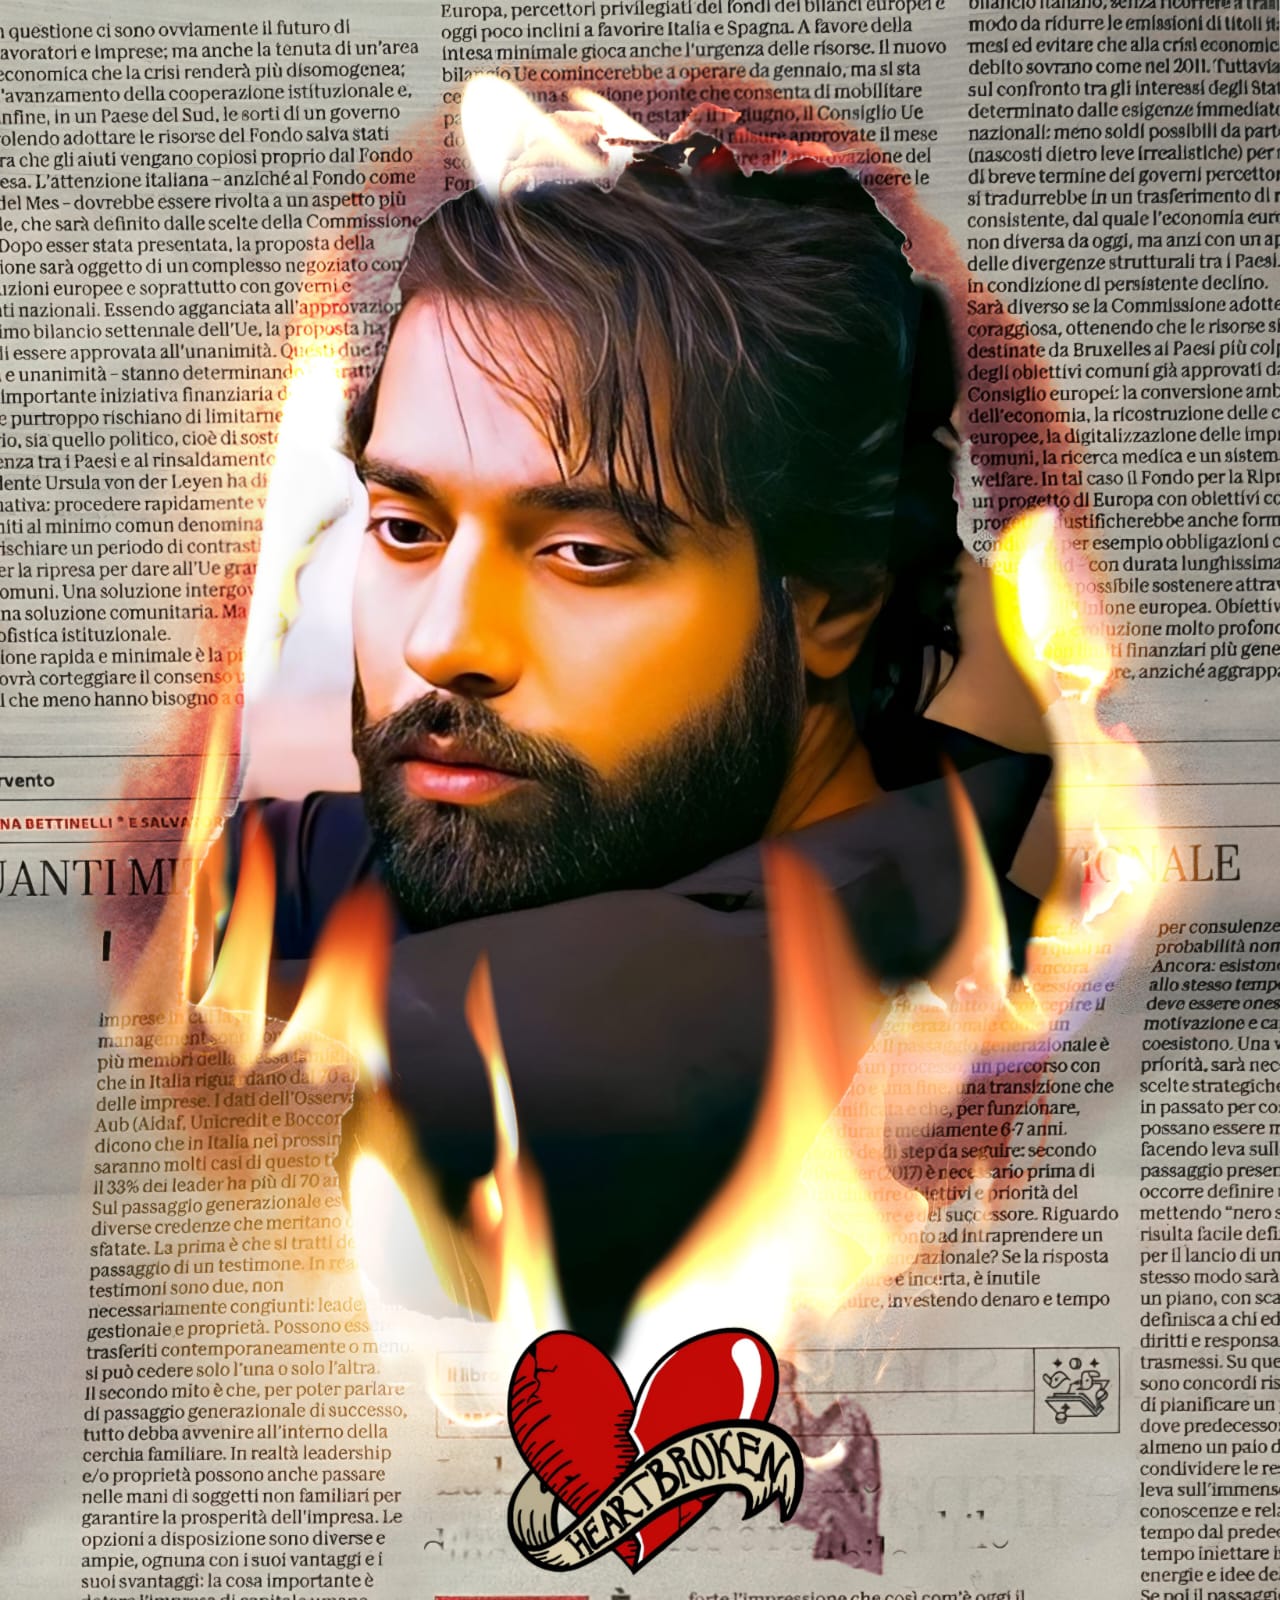
- Add Fire Overlay: Go to the “Stickers” section and search for a fire or flame overlay. Select one that fits the size of your image and place it where you want the burning effect to appear.
- Adjust Size and Position: Resize and position the fire overlay to cover the area of the image you want to appear burned. You can also rotate or flip the overlay to make it look more natural.
- Blend Mode: Change the blend mode of the fire overlay to “Overlay” or “Multiply” to blend it with the image underneath. Experiment with different blend modes to see which one looks best.
- Eraser Tool: Use the eraser tool to remove parts of the fire overlay that you don’t want, such as areas where the fire extends beyond the edges of the paper.
- Adjust Opacity: Lower the opacity of the fire overlay to make it look more subtle and realistic. You want it to look like the paper is smoldering rather than engulfed in flames.
- Add Ashes: To enhance the effect, you can add some ash or charred marks around the burned area. You can do this by using the brush tool with a soft, black brush to paint around the edges of the burned area.
- Final Touches: Make any final adjustments to the colors, contrast, or brightness of the image to make the burning effect blend seamlessly with the rest of the photo.
- Save and Share: Once you’re happy with the result, save your edited image and share it with others on social media or wherever yo
Background download
Download
watch Tutorial
Tutorial
download the png flle and open the picasrt add photo and burning effct thankyou…………….