
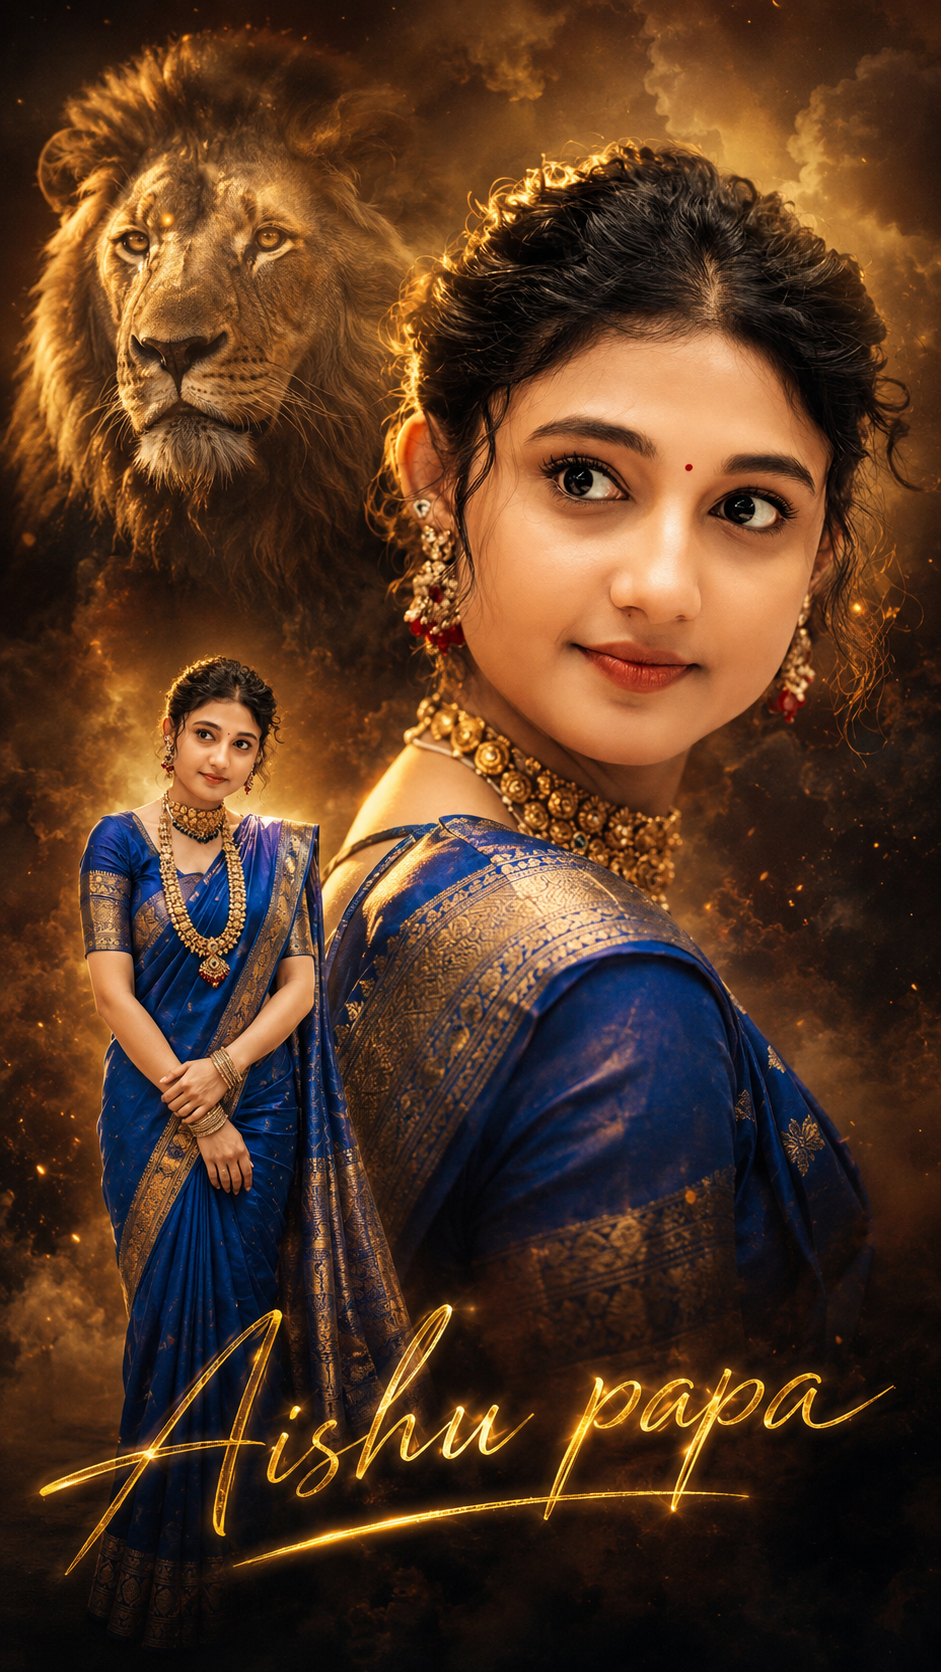
Double Exposure Style Photo Editing
Double exposure is that dreamy, layered look where two images blend into one. Think silhouette filled with a forest, or a portrait mixed with city lights. Here’s your blog content broken into 3 parts you can post as-is or expand.
Part 1: What Is Double Exposure & Why It Works
- Definition: Double exposure started on film cameras when you snapped two photos on the same frame. Now we recreate it digitally by blending two images with masks and blend modes.
- Why it’s popular: It tells two stories at once. A person + nature = connection. A face + skyline = ambition. It’s instant emotion and symbolism.
- Best image combos:
- Portrait + Texture: Silhouette + trees, clouds, water, or smoke
- Object + Scene: Coffee cup + cozy café, guitar + concert crowd
- Contrast themes: Human + architecture, calm face + stormy sea
- Pro tip: Use high-contrast silhouettes for your base image. White background, dark subject makes masking 10x easier.
Part 2: How to Create Double Exposure in 5 Steps
You can do this in Photoshop, Canva, PicsArt, or even Snapseed. Here’s the Photoshop version:
- Pick your base image: Choose a clean side-profile or backlit portrait. Cut out the subject if needed.
- Add your second image: Place the texture/landscape over the portrait. Scale it to cover the main area of the subject.
- Change blend mode: Set the top layer to
Screen,Lighten, orOverlay.Screenworks best for dark portraits. - Mask it out: Add a layer mask to the texture layer. Use a soft black brush to hide parts you don’t want, keeping the blend mostly inside the silhouette.
- Adjust & unify: Lower opacity to 70-90%. Add a gradient map or color grade so both images share the same tone. Slight grain sells the film look.
Phone apps shortcut: PicsArt → Add Photo → Blend → Lighten. Snapseed → Double Exposure tool → pick image → use brush to erase.
Part 3: Creative Ideas + Common Mistakes to Avoid
- Creative ideas to try:
- Seasonal mood: Portrait + autumn leaves for fall vibes, + ocean waves for summer
- Storytelling: Musician + sound waves, traveler + map texture
- Color theme: Keep both images in the same color family. Blue portrait + blue city = cohesive
- Common mistakes:
- Too busy: If both images are detailed, it turns into chaos. One should be simple.
- Bad contrast: Gray-on-gray doesn’t pop. You need light + dark playing together.
- No focal point: The eye needs somewhere to land. Make sure the face/eyes are still clear.
- Final polish: Add subtle vignette and dust overlays. Export in high res. Instagram loves 1080x1350px vertical.
Want me to turn this into a carousel caption series too, or give you Lightroom preset tips for the color grading?
✅✅👇Prompt ✅✅👇
Create an ultra realistic cinematic double-exposure style poster of the uploaded South Indian woman, identity 100% preserved, wearing a royal blue saree with elegant golden temple-border embroidery and matching blue blouse.
A large close-up portrait of her smiling softly and looking back over her shoulder should dominate the background, with glowing warm golden cinematic lighting on her face and hair.
On the left bottom side, add a smaller full-body standing pose of the same woman in the same saree, gracefully posing with natural hand placement and soft smile.
In the background, include a majestic lion portrait emerging from dramatic golden smoke and shadows, symbolizing strength and confidence.
Use warm amber, gold, and dark brown cinematic tones with volumetric lighting, soft fog, glowing rim light, rich skin texture, ultra detailed hair strands, realistic eyes, and premium movie-poster quality color grading.
Add elegant golden handwritten calligraphy text at the bottom saying:
“Aishu papa”
with luxury signature typography style and glowing golden effect.
Background should have textured cinematic smoke, glowing particles, dramatic contrast, studio-quality lighting, depth of field, ultra sharp details, and premium Indian cinema poster aesthetics.
–ar 9:16 –style raw –v 6 –quality 2 –stylize 150