Double Exposure Photo Editing in 3 Parts
You can nail the double exposure look with just 3 main moves. Works in Photoshop, PicsArt, Snapseed, or even CapCut.
1. Pick & Prep Your 2 Photos
- Base photo: Usually a portrait/silhouette. High contrast works best. Think dark subject on white background.
- Texture photo: This fills the silhouette. Nature, cityscapes, clouds, trees, or smoke are go-to choices.
- Prep tip: Cut out the background of your portrait if your app doesn’t auto-blend. Pure black/white backgrounds blend cleanest.
2. Layer & Blend
- Put your texture photo on top of your portrait layer.
- Set the blend mode to Screen, Lighten, or Add.
- Screen: Best for dark silhouettes. Drops out black, keeps texture in the highlights.
- Multiply: Use if your base is light/white instead of dark.
- Move/scale the texture until it sits right inside the subject.
3. Mask & Polish
- Mask out texture from the face/eyes if you want them clean. Just erase or brush on a layer mask.
- Adjust levels: Boost contrast on the base, fade the texture opacity to 60-80% so it’s not too busy.
- Color grade: Apply one tint to both layers so they feel unified. Blue/orange duotones are popular.
Quick app shortcuts:
- Snapseed: Tools > Double Exposure > Add image > Style = Lighten
- PicsArt: Add Photo > Blend > Screen > Eraser for cleanup
- Photoshop: Layer 2 on top > Blend Mode: Screen > Layer Mask + Brush
Want me to break down one of these apps step-by-step for your phone?
✅✅👇 Prompt 👇✅✅
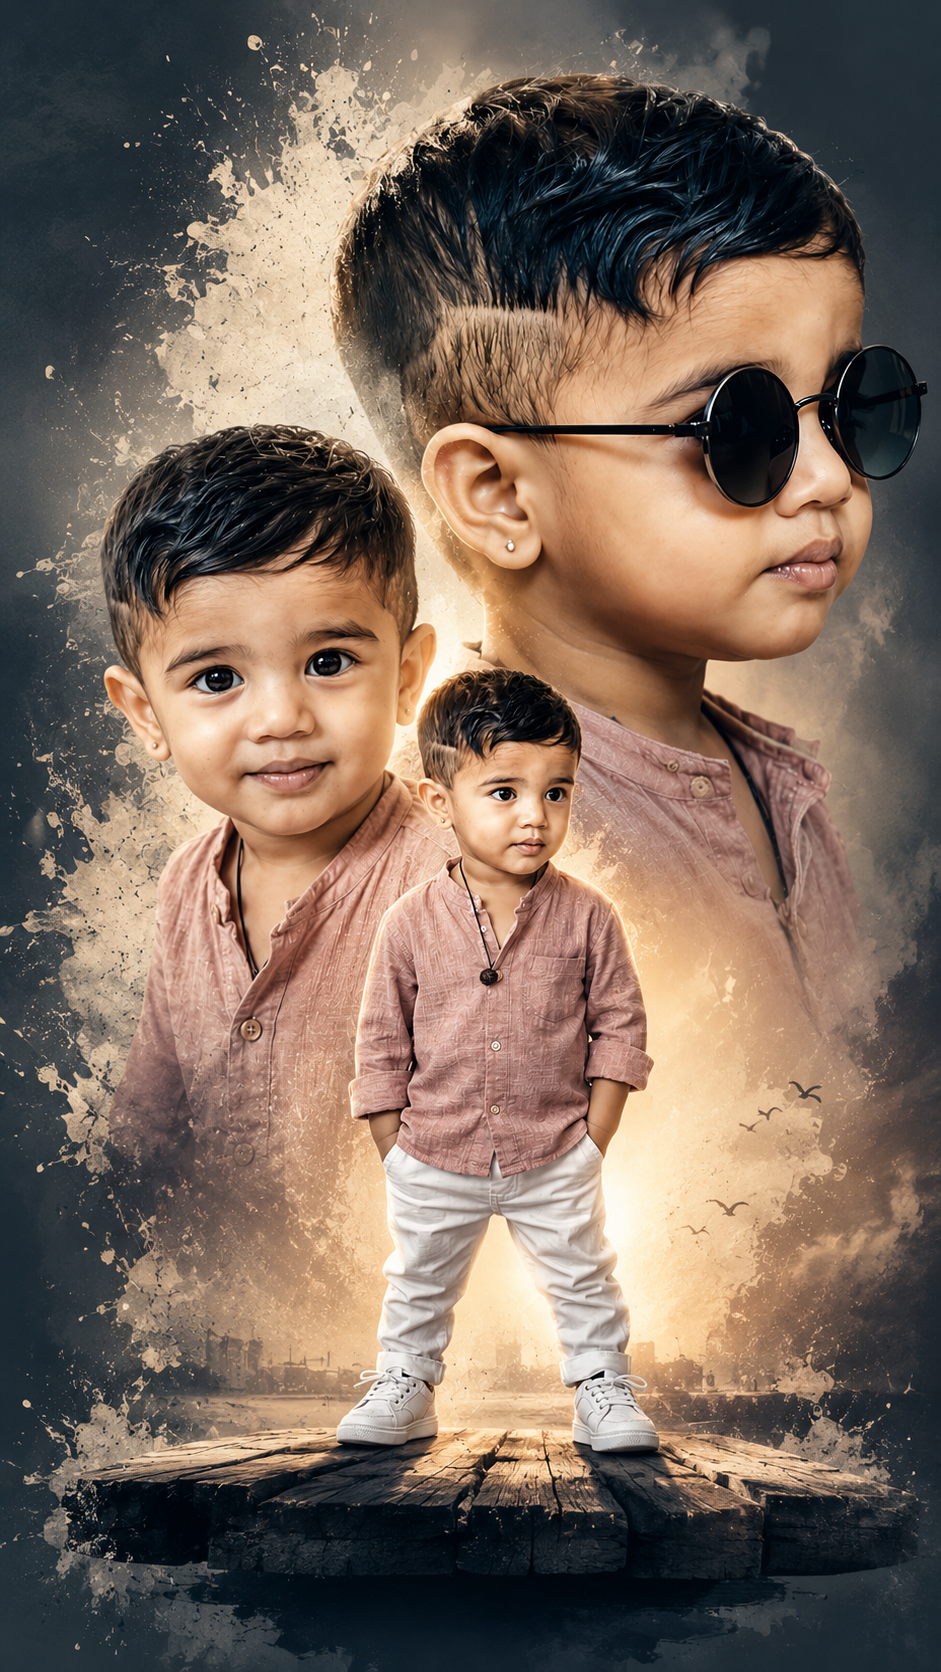
A creative double exposure style movie poster featuring a 2-year-old boy . The composition includes three views of him: one full-body shot standing on a floating wooden platform wearing a dusty pink shirt and white trousers with white sneakers; a second medium close-up smiling at the camera; and a third large profile view wearing stylish black round sunglasses. The background is a clean grey with artistic white paint splash effects. 9:16 Ratio
Order Your Frame